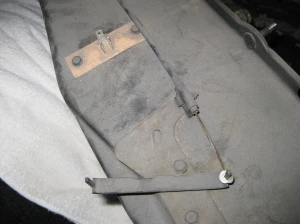
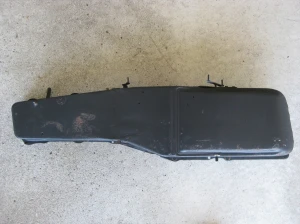
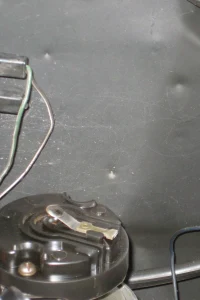
Case is out, still a few cables to unhookWish I took the dash out! I see other things I need to repair.So, the heater box is already out, now I removed the dash pad. Notice the broken defroster duct. I didn’t know it was broken.I lowered the heater box down to the floor on an old towel to protect the carpet, then removed the cables.
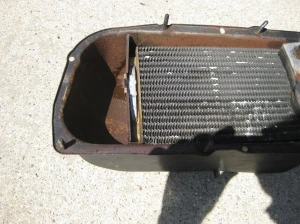
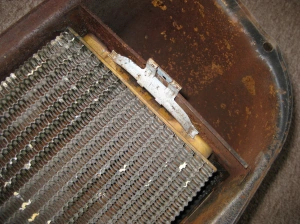
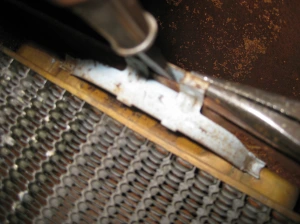
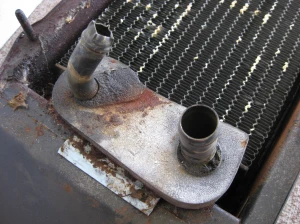
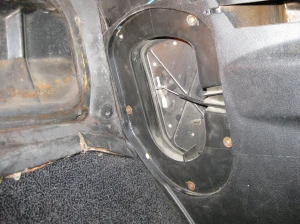
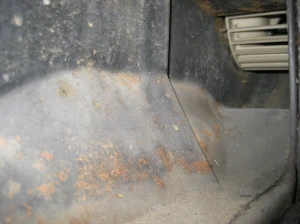
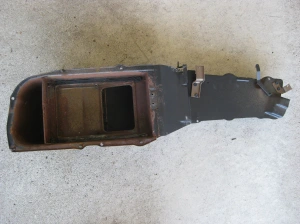
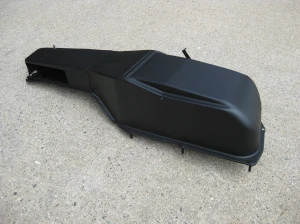
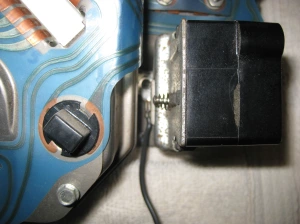
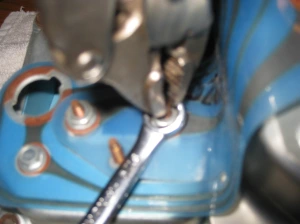
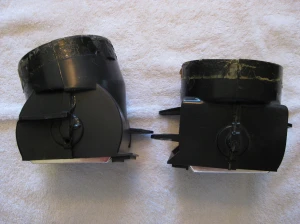
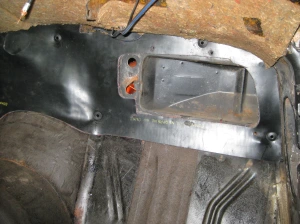
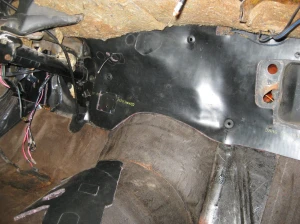
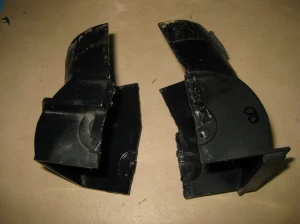
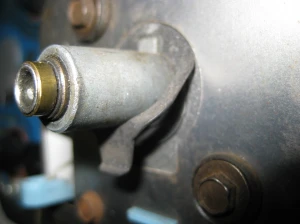
Yes, it was leaking.Notice the “MISSING” stud on the left side of this picture. My car built in May of 1971 in Canada didn’t have one. The stud just below it, required the inner fender bolts to be removed to gain access to the nut. I didn’t need to remove all of the inner fender bolts.Note slotted grill on the left, this is where air is directed to when in the defrost mode. The plastic defrost duct attaches to this area.Here you can see the blower motor resister. The resister is two coils of wire that will glow red hot when on lower speeds. The air from the blower motor helps cool the hot resister coil.This is the other hold down clamp holding in the heater core.This hold down clamp required a screwdriver to release the clip latch and needle nose pliers to pull it out.Clamp removed.Nasty!Here is the clamp removed, notice how it is spring like, holding the core firmly in place.The heater core is held in very firmly with two brackets. This is one of them.Inside the heater box after the core was removed. Notice the debris on the bottom right. Not much for a 39 year old car.Good used defroster duct I had in the basement.Old broken defroster duct. Would you believe I had a good used one!Right floor vent door. I tried to remove the right kick panel but after removing the screws I couldn’t budge the darn thing.This is inside the car where I just removed the heater box and core. The core is firmly attached with clips and screws, to the part I removed.See the blower wheel top rightRight side floor ventRight side floor ventIt’s washed up but still looks old, better blast and paint it.
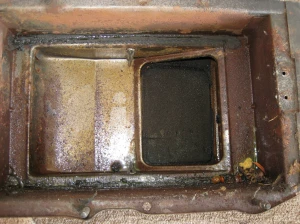
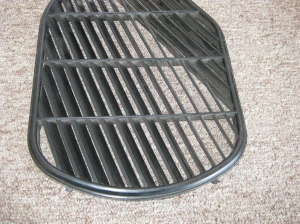
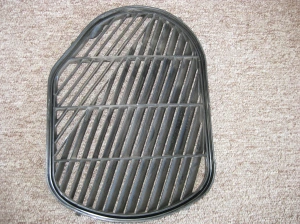
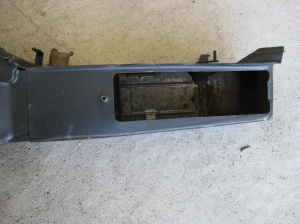
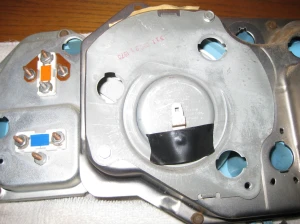
Heater core and inside box removed.In case you can’t tell, new is on top.
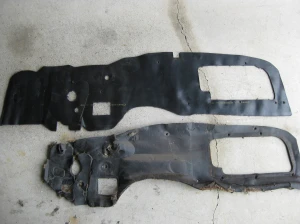
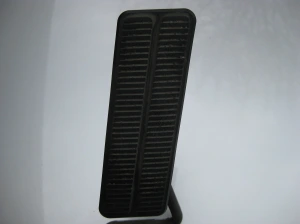
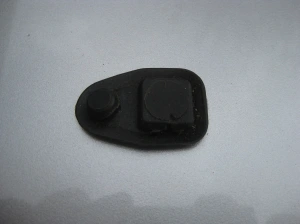
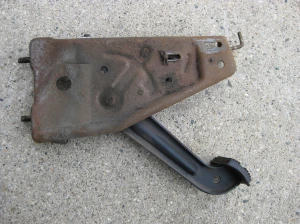
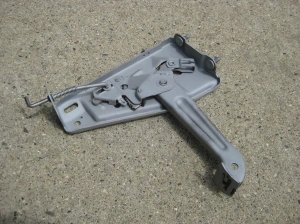
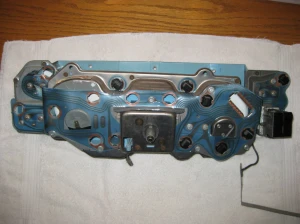
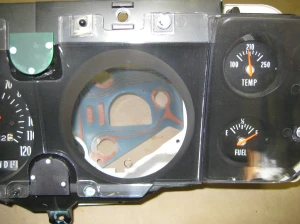
Inside left dimple where I will drill the 3/4″ hole for the tachometer wire.Proper 3/4″ hole I drilled into the firewall for the (Brown) tachometer wire.Proper 3/4″ hole I drilled into the firewall for the (Brown) tachometer wire.Dirty Accelerator peddle I will clean.Small plug that fills the accelerator linkage second slot in the fire wall. I did have my (brown) tachometer wire going through the hole this plugs. Glad I kept it!Small plug that fills the accelerator linkage second slot used for the THM-400 I believe.New (top) vs. Old fire wall insulationParking brake assembly was very easy to remove.Back side of the parking brake assembly was very dirty and rusty after 38 years. They don’t paint the entire unit only DIP the bottom of the peddle into black paint.Freshly Painted Heater BoxBottom Right of the freshly painted heater boxSand blasting removed all the rust. I washed it down first with soap and water.Back side freshly sand blastedThis is the little button that must be pushed to release the headlight knob and shaft. Mine took lot’s of fussing and pulling till it finally came out. It was quite difficult.This is the back side of the instrument cluster with factory gauges. Note riveted ground strap to the headlight switch on the lower right.This nut wouldn’t budge. If I pushed it any harder something would have broken. I took a pair of small locking pliers to hold the top of the stud, then using a small box end wrench, I was able to remove the nut with out damaging anything.With the printed circuit out of the way, I removed the screws and gently pulled out the clock.REMEMBER TO TAKE OFF THE TINY ADJUSTMENT KNOB FIRST! Note small piece of black tape!!!!!!!Here is the TINY ADJUSTMENT KNOB, SCREW and SLEEVE.The clock is now removed and will be sent out to be custom fitted with a quartz movement.Left and Right Top Air vents (No A/C)(Top View) Left and Right Top Air vents (No A/C)Air vents (NO A/C)Clock is out for repair, When finished, it will have a quartz movement.
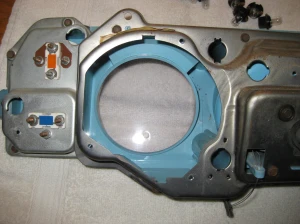
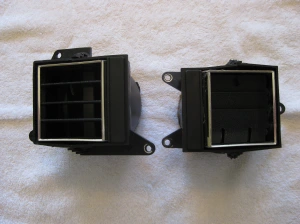
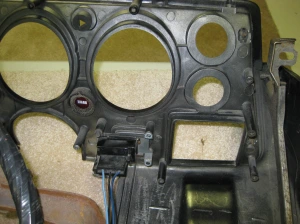
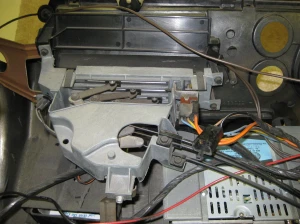
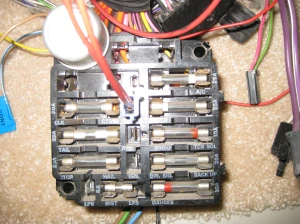
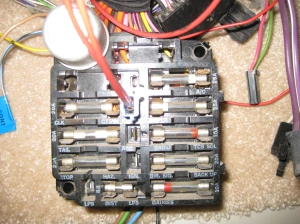
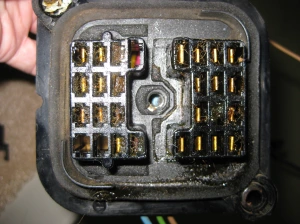
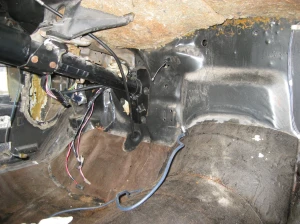
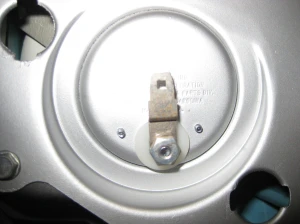
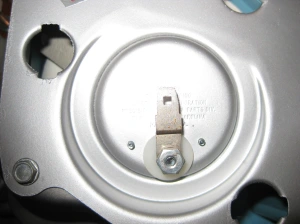
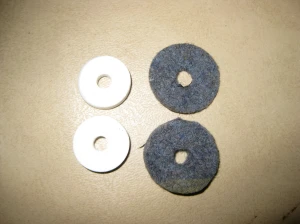
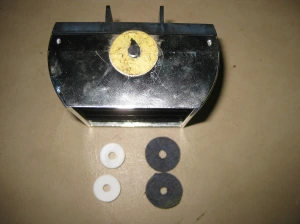
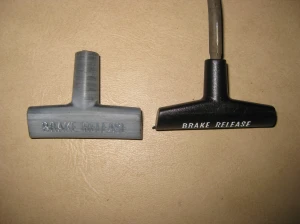
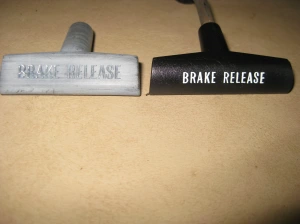
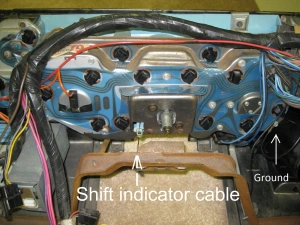
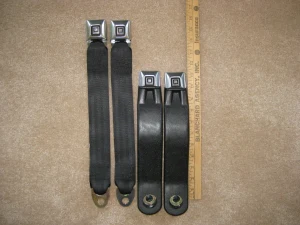
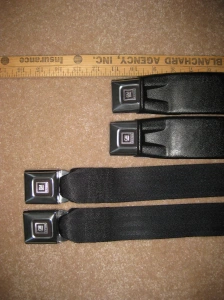
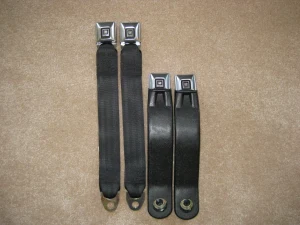
Back side of dash with IP removed. Note W/S wiper switch.This small clip is one of about 6, that hold the wood grain inlay to the plastic dash.Top view of the heater controls (No A/C)Fuse panel.Close Up of the fuse panel.Inside half of the bulkhead connector at the firewall. The two halves are held together with one screw in the center. The inside half is held to the firewall with two long screws.Inside half of the bulkhead connector at the firewall. The two halves are held together with one screw in the center. The inside half is held to the firewall with two long screws.A look at the top right air vent (round thing) in the upper right.The three wire set coming down the fire wall through the grommets is for the rear speakers. Three wire you ask? Yes, Left, Right and ground. One more wire that follows these three, is for the electric trunk opener.I should just pull the darn steering column out, everything else is already out. I drilled the 3/4″ hole for the tach wire left of center just below the insulation.One of the heater box holes does’t line up with the “pre-punched” hole.Sound deadener in place. I broke one clip, they are not easy to push in. I then sprayed them with silicone and built a tool out of a punch with two 3/8″ nuts slipped over the punch that acted as a “shoulder” to help drive these plugs in.Inside view of the passenger side vent, removed.These are the clips that hold in the two vent cables. The kick panel must be removed the gain access to these clips. The heater box was already removed when I removed the passenger side. I think the heater box must be removed to gain enough clearance to remove this.Freshly repaired clock, in place but notice something missing?There was a piece of electrical tape over the nut to “I assume” prevent the printed circuit from shorting out on the hot part of the clock.Part of the transformation to a quartz movement includes a fresh coat of rattle can silver!OEM vent grill pads on the right, replacement on the left. Is it me, or do they look smaller?This is where the pads go, one on the top and the other on the bottom pivots. Again OEM is on the right!Splitting the case worked fairly well using a soldering gun to melt the plastic. The case was originally heat welded, so I just reversed the process.New parking brake release handle.New parking brake release is slightly smaller than original! Darn thoes aftermarket parts!Speedometer cable release on the back of the speedometer head in the dash. (Push on the tab and pull out the cable assembly)Speedometer cable release on the back of the speedometer head in the dash.This controls the dash PRND21 indicator in the speedometer. Remember to remove it’s tiny screw PRIOR to removing the dash OR lowering / removing your steering column!Headlight switch body with 7 terminals. Inside the white ceramic block is a coiled wire use as a variable resister to dim the dash lights.Connectors for the Ign, brake, back up, neutral safety, bright light, t/s switches and t/s (yellow round thing) flasher. Also, I think I forgot what one of them is?Almost ready to be re-installed!Almost ready to be re-installed!Almost ready to be re-installed!Here are two sets of the female end of the new three point safety belt system. Left are for bench seat use and rt are for bucket seat use.Here are two sets of the female end of the new three point safety belt system. Left are for bench seat use and rt are for bucket seat use.
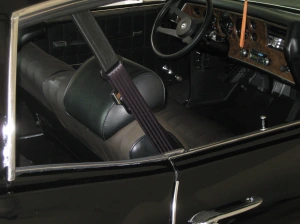
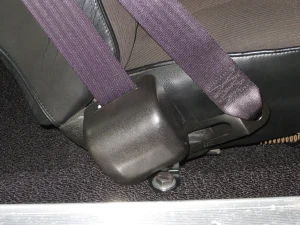
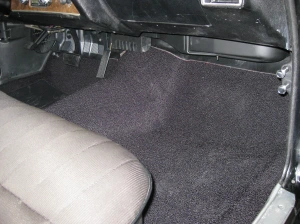
Three point safety belts from the outside.Three point safety belts from the outside.Picture of the right (passenger) side belt. The belt color does NOT look that purple in sunlight, perhaps the dye used was metameric? (Follow link)http://en.wikipedia.org/wiki/Metamerism_(color)#Metameric_failureHere you see the longer belts made for bench seats. I will swap these out for the shorter, bucket seat type, soon to see if I like them better.New top roof mounting, uses the same holes.Sure, now the headliner needs to be replaced!Does it ever end?New heater core, painted heater box, new firewall insulation pad, four new air vent cables and knobs, quartz clock, new carpet and safer three point safety belts.


Reblogged this on 1971montecarlo and commented:
testing
LikeLike